Category Archives: Food & Entertaining

FOOD HEAVEN | ZUCCHINI BREAD RECIPE

7 January 2014

Happy Tuesday everyone and welcome to a new column: FOOD HEAVEN. You might have guessed but I’m a bit of a Pinterest addict so with this column I’m going to highlight one of my favourite inspirational foodie pins for you.

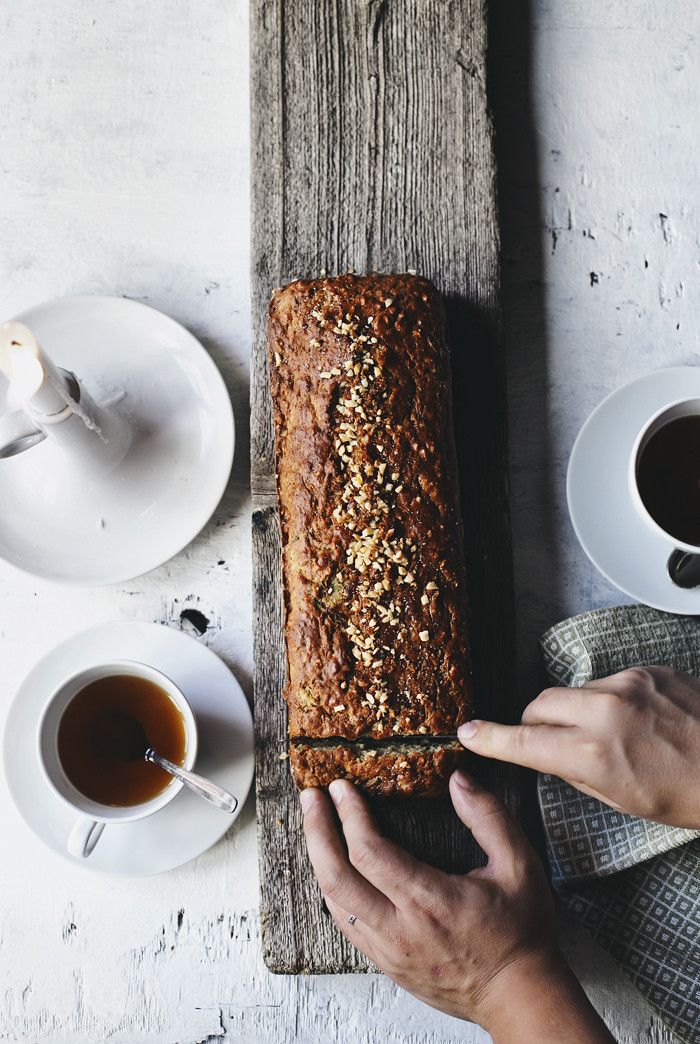
So, today’s pin is via the Finnish blog Lily of some freshly baked Zucchini bread that looks just divine to me. You can find the recipe on Smitten Kitchen and bake along. I’m def going to try this one out as I love the fact that cakes can be healthy. Hurrah!

copyright lily.fi via stylejuicer.com

Enjoy!

Annie Signature Stylejuicer

PHOTOGRAPHY | Lily

SUPER DUPER SPICY GINGERBREAD COOKIES

22 December 2013

To create this year’s Stylejuicer Christmas e-card I wanted to try my hand at spicy gingerbread cookies as I had this idea of shooting them on a chalkboard background with icing sugar as snow and a simple message in the centre. Coincidentally my man, the cowboy, is mildly addicted to them and the kids love them too. So after I got a tiny star shaped and a Christmas tree cookie cutter I consulted my lovely American neighbour Andrea who had just the recipe for me.

I know I can always rely on her as she’s the best baker I know by a mile (sorry Bobs, you’re a close second) and with her own adaptions and subsitutions of this classic American recipe by Anne Disrude they make for perfect Christmas cookies. I have to say they really are sublime and well worth shopping for all the slightly out of the ordinary ingredients and also make great little gifts.

Now, as much as I want to start a traditional Christmas baking day with the kids I have to admit that I did the gingerbread cookies on the sly whilst the kids were napping. With all the photographing equipment and general mess I felt it would have just been too temping for little fingers to interfere and god knows what might have happened. Suffice to say I think I would have come out a lot worse than the kids.

But I’m doing another batch soon with some dough I froze and I’ll allow the kids run wild and just hope for the best.

Spicy Gingerbread Cookies Copyright Stylejuicer

Spicy-Gingerbread-Cookies-Copyright-Stylejuicer03

SPICY GINGERBREAD COOKIES
INGREDIENTS:

1 cup brown muscovado sugar
1 teaspoon baking soda
1/2 cup ground ginger (I did a less spicy option and used 2/3 ground ginger and 1/3 ground cinnamon all adding up to 1/2 cup)
2 teaspoons ground allspice
2 teaspoons ground cloves
1 teaspoon freshly grated nutmeg
200g unsalted butter
3/4 cup pure maple syrup
2 tablespoons unsulfured molasses (or black treacle)
4 cups plain flour
2 tablespoons low-fat (2%) milk (optional)

DIRECTIONS:

In a large bowl. combine the sugar, baking soda, ginger, allspice, cloves and nutmeg. Add the butter and, with an electric mixer, beat until the mixture is pale and fluffy. Beat in the maple syrup and molasses. Beat in the flour 1 cup at a time. Only stir in the milk if the dough is too dry.

Divide the dough into four equal portions. Shape into bricks, wrap well in cling film, and refridgerate for at least a day and up to three days to mellow the flavours.

Remove the dough from the refridgerator 30 minutes before rolling. Preheat the oven to 180C (350F) Lightly butter two baking sheets, or use non-stick sheets. Cut cookies whichever way you fancy and bake for 9-11 minutes until they are just beginning to brown at the edges. Transfer to a cooling rack and allow to cool.

This dough freezes beautifully, so you can bake some and freeze the rest for later. Wrap well and freeze up to two months. The cookies will keep up to one month in an airtight container.

Enjoy and I hope you’re inspired!

Annie Signature Stylejuicer

Photography | Annie Kruse

WINTER WARMER: PORTUGUESE CHICKEN AND POTATOES

4 December 2013

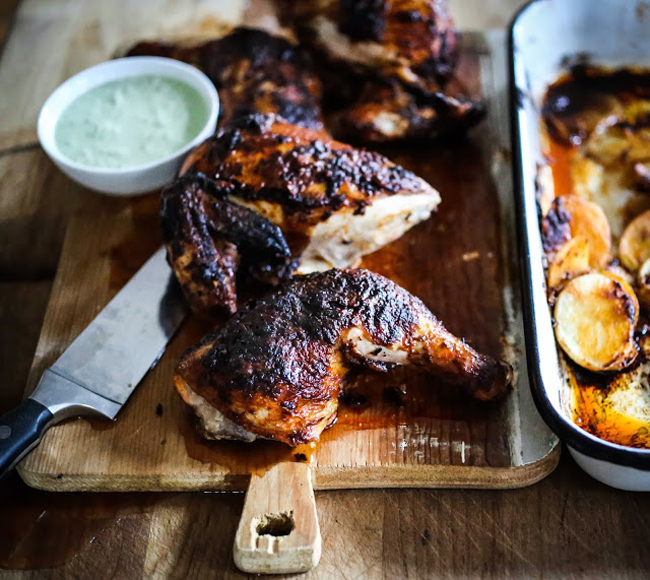
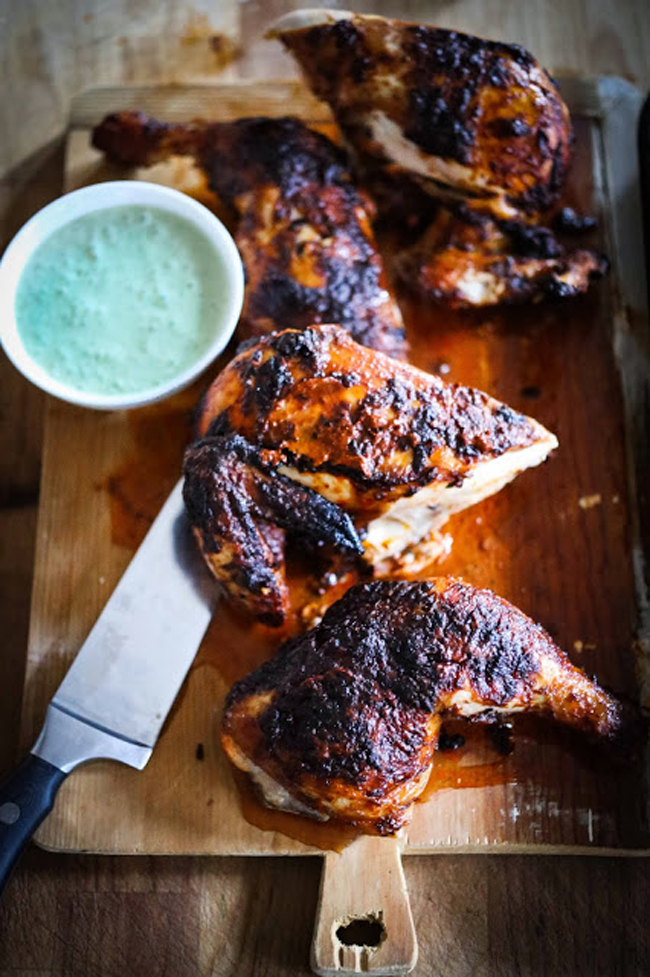
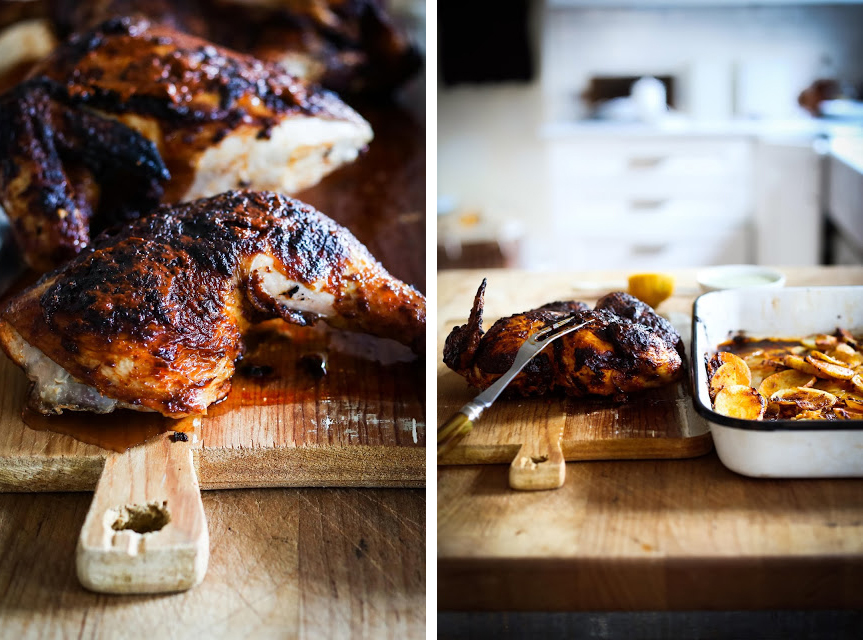
This is a real winter warming recipe that has the added bonus of making your house smell absolutely delicious and it’s courtesy of the lovely Sylvia Fountaine, trained chef, blogger and owner of Feast Catering Co. Her blog FeastingAtHome features recipes that are simple, wholesome and unpretentious with a focus on seasonal produce including some mouth-watering photography.

Like Sylvia I’m a big fan of making the most of the oven in winter to not only let it warm the house but I love having the kitchen and house infused with delicious aromas that make you appreciate the meal even more when you’re ready to tuck in. Here’s a lovely little excerpt of Sylvia’s introduction to today’s recipe:

There is nothing quite as satisfying as a simple roasted chicken, just pulled from the oven, aromas wafting through house, infusing hearth and home with warmth and comfort. Winter has arrived, dropping snow on the recently fallen leaves. It seemed to happen so quickly this year, the changing of the seasons. My initial reaction, truthfully, is resistance, to the abrupt ending of fall and the beginning of the long winter to come. And yet, I’m lured into acceptance by little things – the sound of the crackling fire, the snowflakes, the stack of books waiting to be read, new wool socks and comforting meals.

Make sure to visit her blog FeastingAtHome for more winter warming recipes.

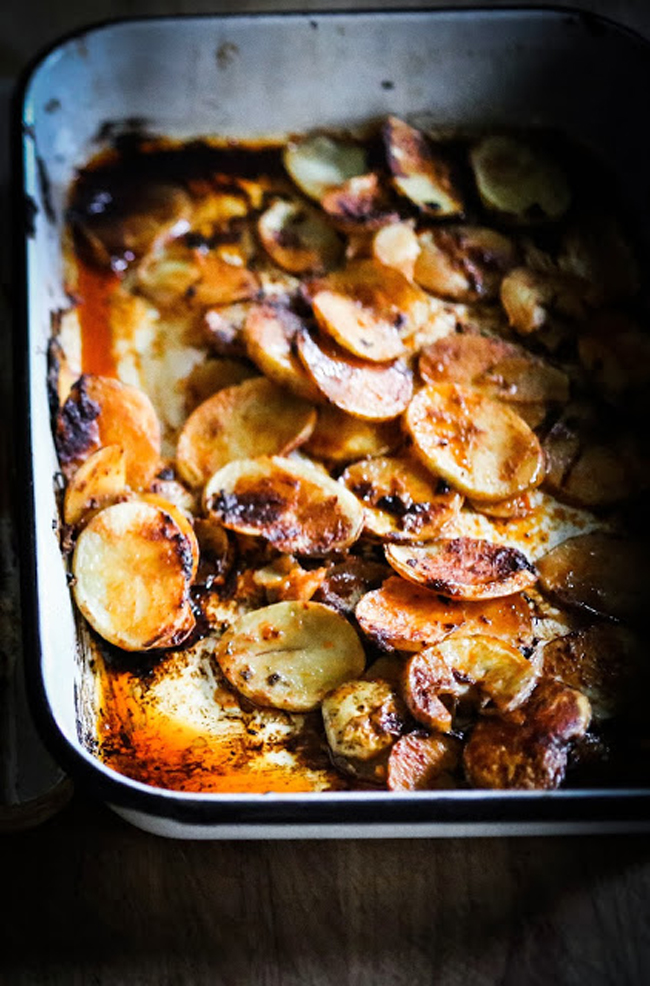
copyright Sylvia Fountaine Portuguese Chicken and potatoes

SylviaFountaine-Portuguese-Chicken-02

SylviaFountaine-Portuguese-Chicken-05

SylviaFountaine-Portuguese-Chicken-03

copyright Sylvia Fountaine Portuguese Chicken and potatoes

PORTUGUESE CHICKEN AND POTATOES

Prep time: 15 mins
Cook time: 1 hour
Total time: 1 hour 15 mins

INGREDIENTS:

1 Whole Chicken (3-4 lbs)
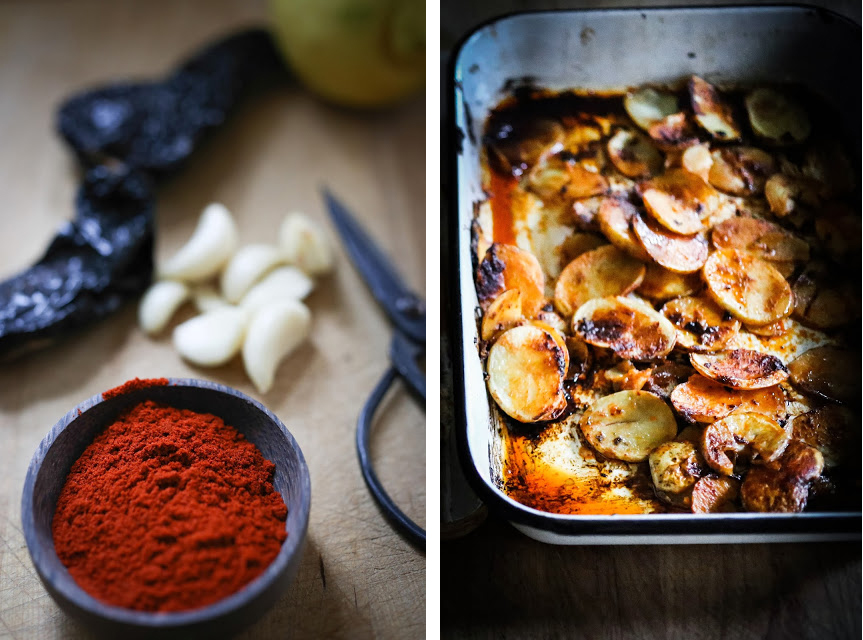
1 ½ lbs (680gr) potatoes (yukon or reds), thinly sliced

Marinade:
2 Dried Ancho Chilies-re hydrated
2 Tablespoons smoked paprika
6 cloves garlic
1 Tablespoon salt
1 Teaspoon coriander
1/4 Cup (60ml) plus 1 Tablespoon sherry vinegar or red wine vinegar
1/4 Cup (60ml) plus 1 Tablespoon Olive Oil
1/2 Teaspoon pepper

Cilantro Sauce:
1 Cup (240ml) plain yogurt
1 bunch Cilantro- finely chopped
1/2 Teaspoon Salt
½ Teaspoon coriander
Cracked pepper
1 Tablespoon lemon juice

1 Tablespoon olive oil

INSTRUCTIONS:

Preheat oven to 425F (220C) and rehydrate dried chilies in a small pot of boiling water on the stove for 20 minutes.

Butterfly chicken. Rinse inside and out, removing innards. Pat dry. Place on a cutting board, breast down. Using sharp kitchen scissors, cut along both sides of the spine, remove and discard. Turn the chicken over, and placing your hand on the breast bone, press down hard with the palm of your hand, to flatten.

Make the marinade by blending the marinate ingredients into a paste with a blender or food processor. Brush a layer of marinade on the bottom of your baking pan. Place the thinly sliced potatoes on top of the marinade and sprinkle with a generous pinch of salt. Brush all sides and crevasses of the chicken with the marinade, coating fairly heavily. (You will add more marinade during cooking, so be sure to save the remaining.) Place chicken, skin side down on the potatoes and place in the oven. Turn over after 20 minutes, and place back in the oven. After 10-15 minutes, brush more marinade all over the chicken on the skin side, really lathering it up. Return to the oven and bake until cooked through another 10-15 minutes, or until leg/ thigh reaches internal temperature of 180F (80C). Remove chicken when done and let rest 5-10 minutes before serving.
While chicken is roasting, combine Cilantro Sauce ingredients together, either in a bowl- mixing by hand, or in a food processor.

More information & photography | Sylvia Fountaine from FeastingAtHome

FOOD HEAVEN | APPLE CARDAMOM CAKE

13 November 2013

copyright-Helene-Dujardin-Tartelette-Blog

This recipe fits right in with the autumnal weather at the moment making me crave comfort foods and hot drinks as if I’m about to hibernate. Ah, hibernation what an appealing thought… sleep through winter and wake up refreshed and hungry when the days are getting longer and the temperatures are on the rise. Shame, I’m not a hedgehog.

But back to apple and cardamom – what a great flavour combination! I could almost smell the spices coming off the screen when I came across Helene Dujardin’s recipe on her blog Tartelette.

She’s a French expat living in Alabama and an exceptional cook, food stylist and photographer who loves to cook with fresh seasonal ingredients. An expert in her field she’s written a book on food photography, styling, lighting and techniques called Plate To Pixel and is a member of Martha’s Circle – a network of blogs chosen by Martha Stewarts editors. Great credentials but what I love most about her blog is the fact that she comes across as very natural and easy going sharing stories about her childhood and family.

Case in point is the featured apple cardamom cake recipe which has been passed on by her Grandma, Mamie Paulette, whom she says smelled of apples and vanilla. What a gorgeous combination!

I hope Helene doesn’t mind me adding just one of my favourite ingredients: a good portion of cream, whipped or runny, I really don’t mind. Oh, and a nice cup of tea of course!

copyright-Helene-Dujardin-Tartelette-Blog-03

APPLE CARDAMOM CAKE

Makes one 9-inch cake

INGREDIENTS:

10 Lady apples (or 2 to 3 regular sized apples)
1 cup yogurt (250ml)
1/2 cup sugar (100gr)
2 eggs
1/2 cup olive oil (120ml)
zest and juice of one lemon
2 cups regular flour (240gr)
2 teaspoons baking powder
1/2 teaspoon ground cardamom
1/4 teaspoon ground cinnamon

DIRECTIONS:

Preheat the oven to 350F (180 degrees). Position a tray in the middle. Grease one 9-inch baking pan and line the bottom with parchment paper. Place the pan on a baking sheet. Set aside.

Peel, core and slice the apples very thin (a mandoline works great) and place them in a large bowl filled with water and lemon juice to prevent oxidation.

In a large mixing bowl, whisk together the yogurt, sugar and eggs until pale (takes about 2 minutes). Add the oil and lemon juice and mix until well blended. Add the flour mix, baking powder, cardamom and cinnamon and whisk about 50 strokes until the batter is smooth.

Pour it into the prepared baking pan and position the apple slices (drained slightly) on top.
Bake for about 30-40 minutes until a knife inserted in the middle comes free of raw batter.

Enjoy and I hope you’re inspired!

More information | Tartelette
Photography | Helene Dujardin

PUMPKIN RAVIOLI WITH BROWNED BUTTER, ROSEMARY AND THYME

30 October 2013

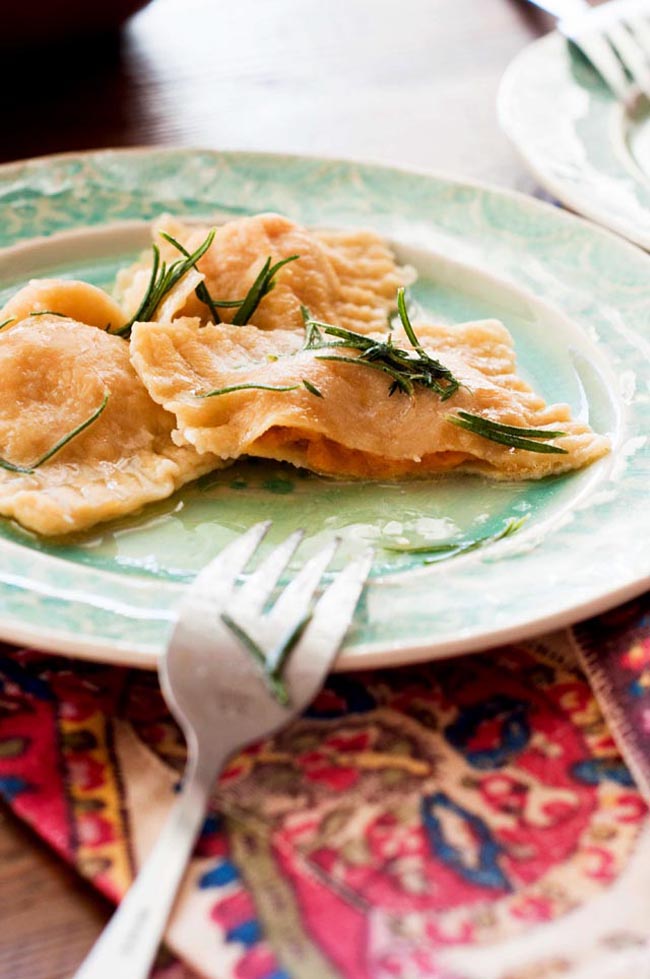
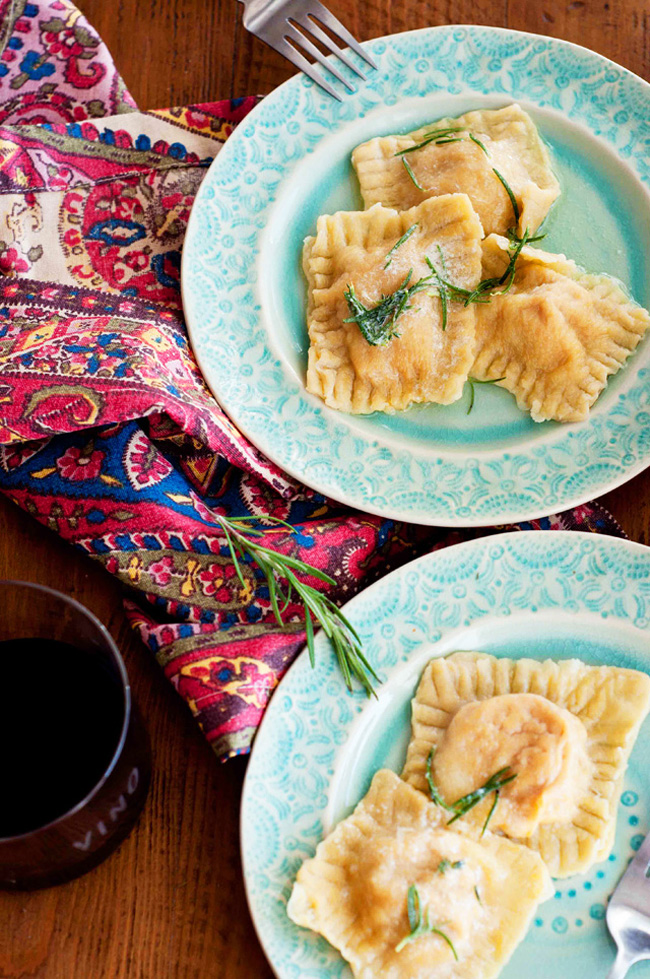
I bought two pumpkins to carve with the kids at the weekend and was looking for a suitable recipe for all the left-over pumpkin when I came across Amanda Marshall’s delicious recipe and photography of her pumpkin filled ravioli! Score!

Her food photography is inspiring and the recipe looks divine. A simple, healthy and seasonal dish, what could be better!? Living on the subtropical Japanese island of Okinawa with her husband and young son Amanda has been inspired by her mother’s Mediarranean cooking and her own travels around the world. She’s clearly an ambitious cook and has a great eye for food styling and photography.

Please check out her blog Marshalls Abroad for more inspiration and juicy photography.

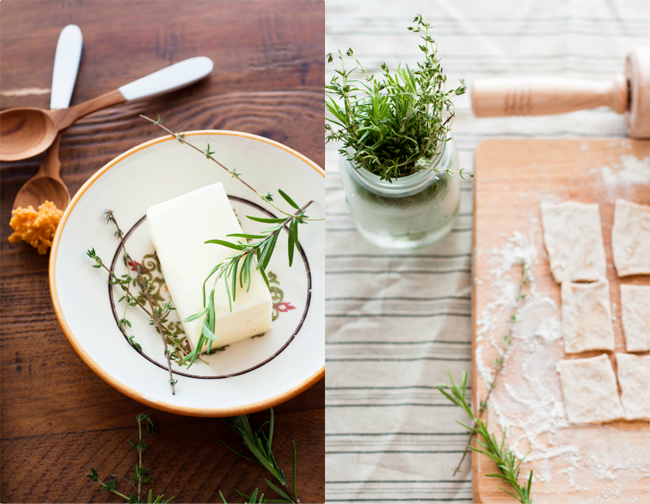
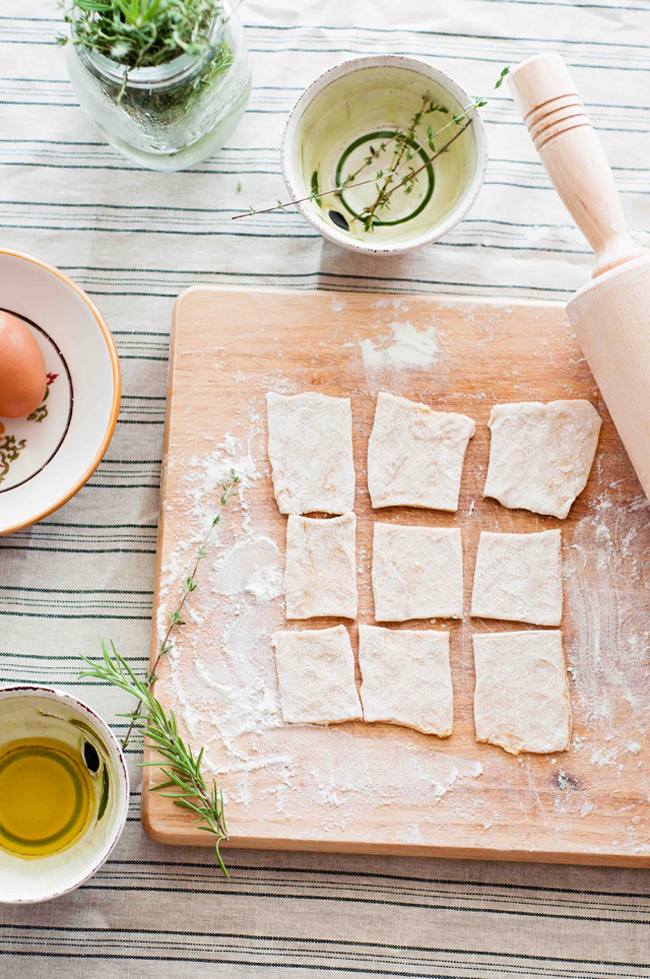
copyright Amanda Marshall Pumpkin Ravioli via Stylejuicer

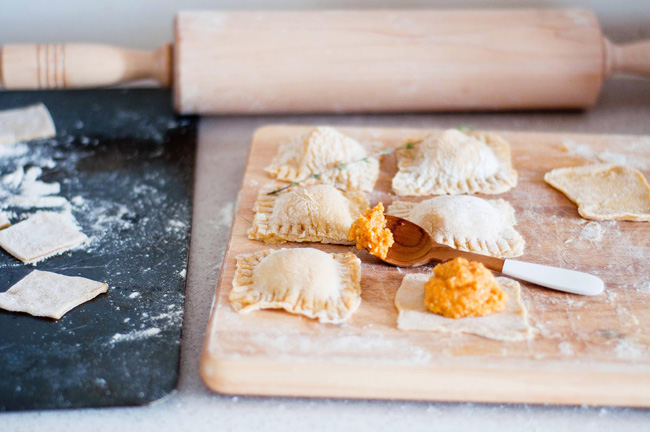
copyright-AmandaMarshall-PumpkinRavioli-via-Stylejuicer02

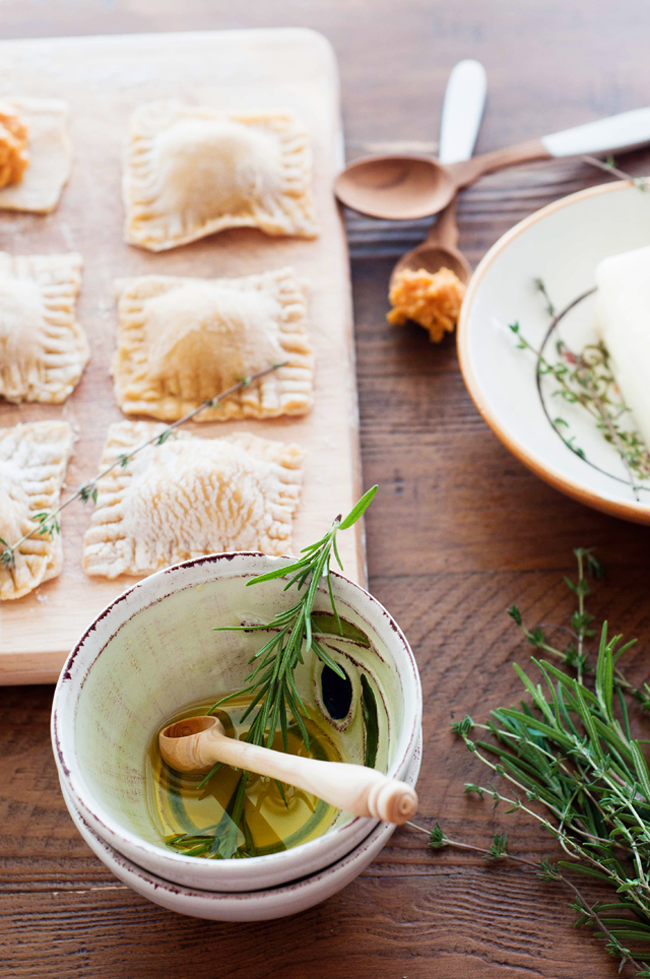
copyright-AmandaMarshall-PumpkinRavioli-via-Stylejuicer08

copyright-AmandaMarshall-PumpkinRavioli-via-Stylejuicer07

copyright-AmandaMarshall-PumpkinRavioli-via-Stylejuicer06

copyright-AmandaMarshall-PumpkinRavioli-via-Stylejuicer03

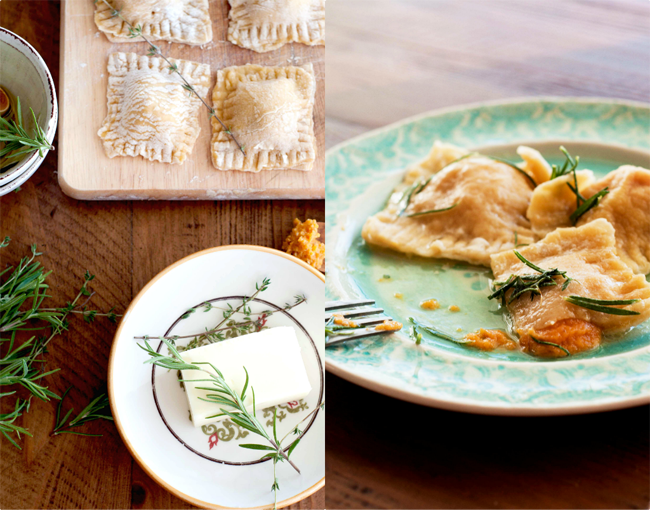
copyright Amanda Marshall Pumpkin Ravioli via Stylejuicer

*NOTE: I’ve taken the liberty and adapted her recipe from tinned to fresh pumpkin and put it in my usual format of ingredients list followed by directions.

PUMPKIN RAVIOLI WITH BROWNED BUTTER, ROSEMARY AND THYME
INGREDIENTS:

For the pasta dough:
5 eggs
1 tablespoon of salt
1 tablespoon of olive oil
3 cups of all-purpose flour

For the pumpkin filling:
1-3/4 cups mashed pumpkin
[*NOTE: Amanda uses tinned pumpkin but you can very easily use fresh pumpkin which you need to cut into large chunks and put in a roasting tin to soften. Drizzle with olive oil and salt and pepper and roast for 30-40 minutes. If you don’t want it to crisp up like roasted vegies do, you could cover it with foil. After that you puree the pumpkin and add the other ingredients and wait for the filling to be cool before putting it in the ravioli.]
1 cup of freshly finely grated Pecorino
2 Teaspoons of Nutmeg
1 Teaspoon Cinnamon
a dash of salt and pepper.

For the butter:
3 tablespoons of butter
fresh rosemary and thyme

DIRECTIONS:

This is a very simple pasta dough and my basic method. In a small bowl, beat the eggs, salt & olive oil. In a large bowl, place the flour and create a well in the middle with your hands. Pour in the egg mixture to the well. Stir with a fork or your hands to fold it all together until the egg mixture is absorbed and the dough forms into a sticky ball. Flour your hands and divide the dough into 3 separate chunks. Knead each dough a bit to form it into a smooth ball. Cover each in cellophane and refrigerate for a few hours.

Roll out the ball of dough as flat as you can get it. I cut mine into squares with a knife, but you could use a cookie cutter for a different shape or to get it more exact. I liked mine imperfect… rustic.

After you’ve cut the dough into squares, it helps to roll each square a bit more before scooping on the pumpkin mixture. Place another square on top, and using a fork, press the two pieces of dough together at the edges, which creates a pretty border.

Once you’ve finished putting together the raviolis, place them in a pot of well sea-salted boiling water until they rise to the top. About 3-4 minutes. Carefully scoop them out into a colander to drain.

Melt 3 tablespoons of butter. Just before it starts to brown, add fresh rosemary and thyme leaves stirring until the butter slightly browns. Pour over raviolis… take a deep breath before you inhale the whole plate!

Enjoy and I hope you’re inspired!

Annie Signature Stylejuicer

Photography & recipe | Amanda Marshall
Amanda’s blog | Marshalls Abroad