Back in January when we first moved into our new house we had a tight budget for renovations – inside
and outside of the home – so the first thing we did was a garden makeover. This might seem crazy to some of you since we were in the grip of the longest winter for years but with two wild boys (6 and 7 years old now) we need to make use of as much outside space as possible to help them get rid of their sheer boundless energy.
In fact one of the reasons we moved was to have the luxury (I use the term loosely here) to open the back door and let them run wild without worrying about any plants or borders being destroyed but the garden had to work for us adults too. We wanted a chill out area and vantage point from where we could observe those crazy dudes and keep half an eye on them, making sure they don’t get up to any mischief. #fatchance
Little did we know that thankfully the hottest summer since 1976 was on its way and for once the stars aligned and all the planning and hard work paid off.
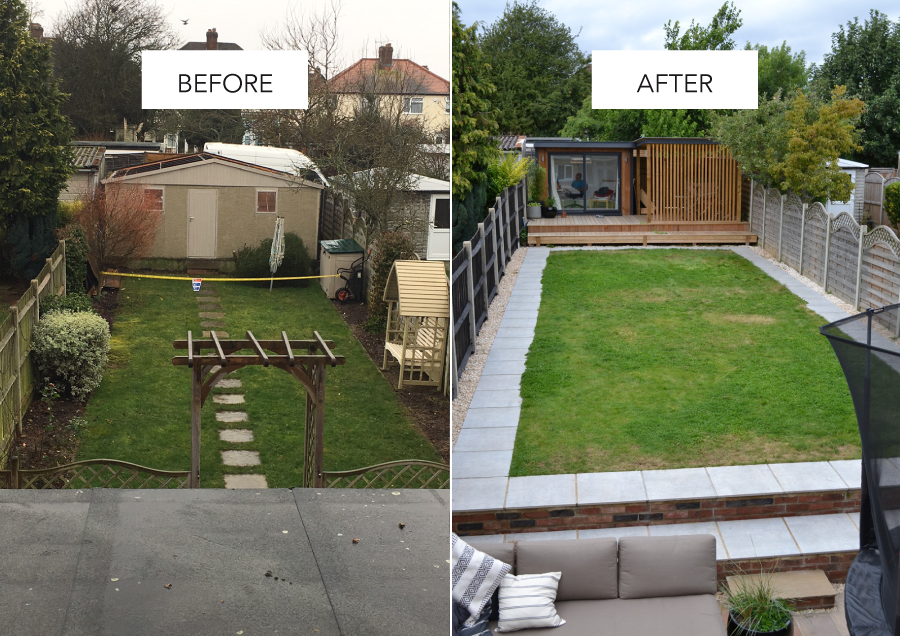
For those of you who want to know what it looked like before we started the garden makeover below is a ‘before’ picture. You can see that there was no real garden design, it just seemed to have ‘happened’ over time with uninspired borders along the fence, a path leading down the middle to an old 70ies Asbestos ridden double garage and mossy lawn either side. It made the garden look even narrower than it already was and it also had the disadvantage of sloping down towards the house which meant you couldn’t even kick a ball around.
So after some Pinterest inspiration and months (years even!) of collecting images from magazines, books and newspapers I was honing in on our new design which had to be functional and minimalist; the proverbial clean slate.
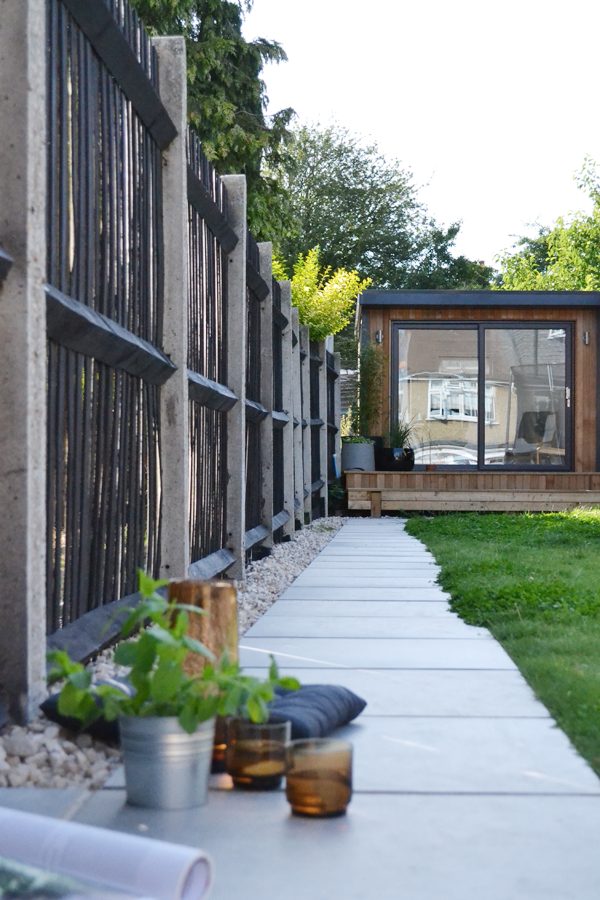
John also needed a home office away from the house and we decided to take the double garage down and put a work pod and a semi open shed on the large remaining concrete platform but I will talk about that project in part 2 of the garden makeover.
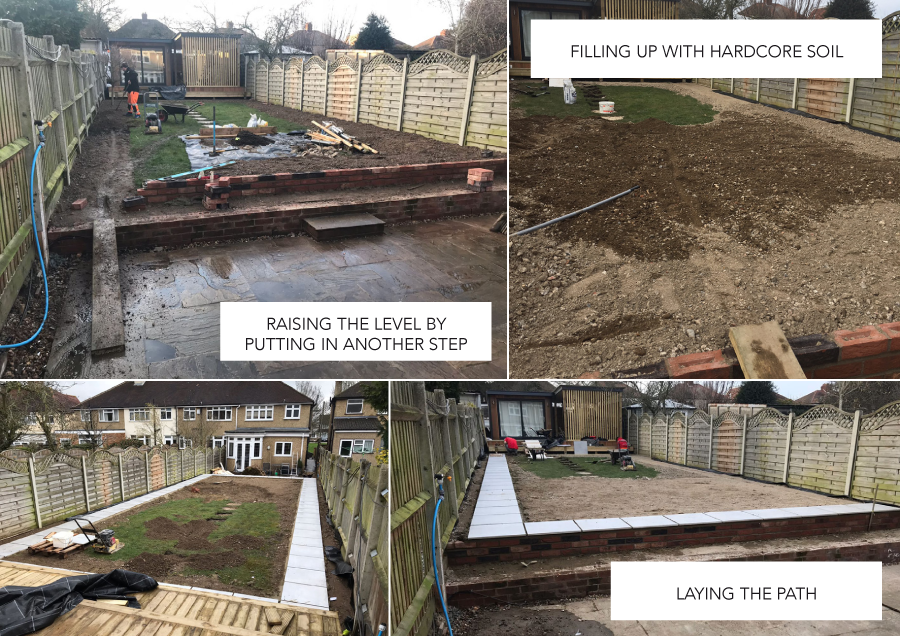
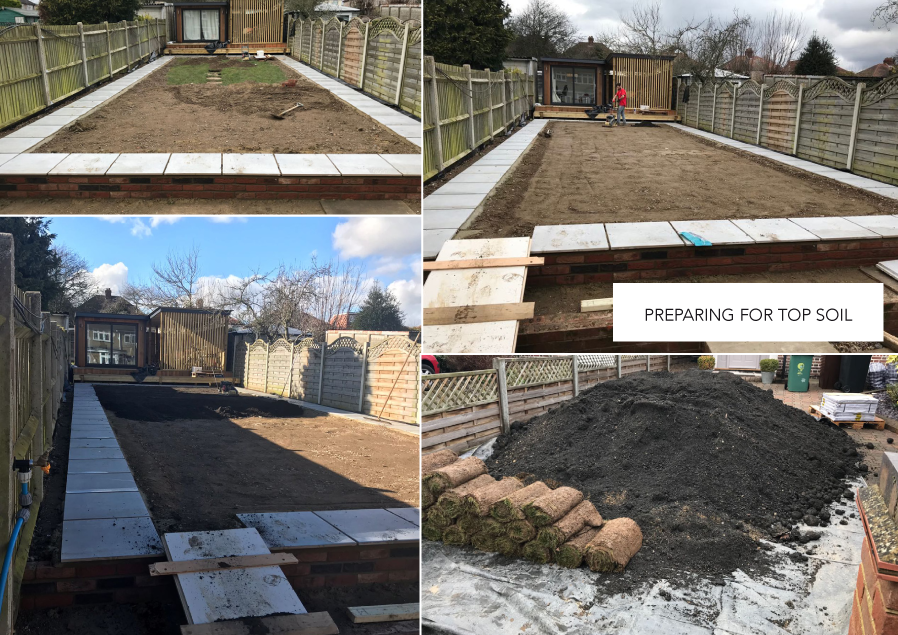
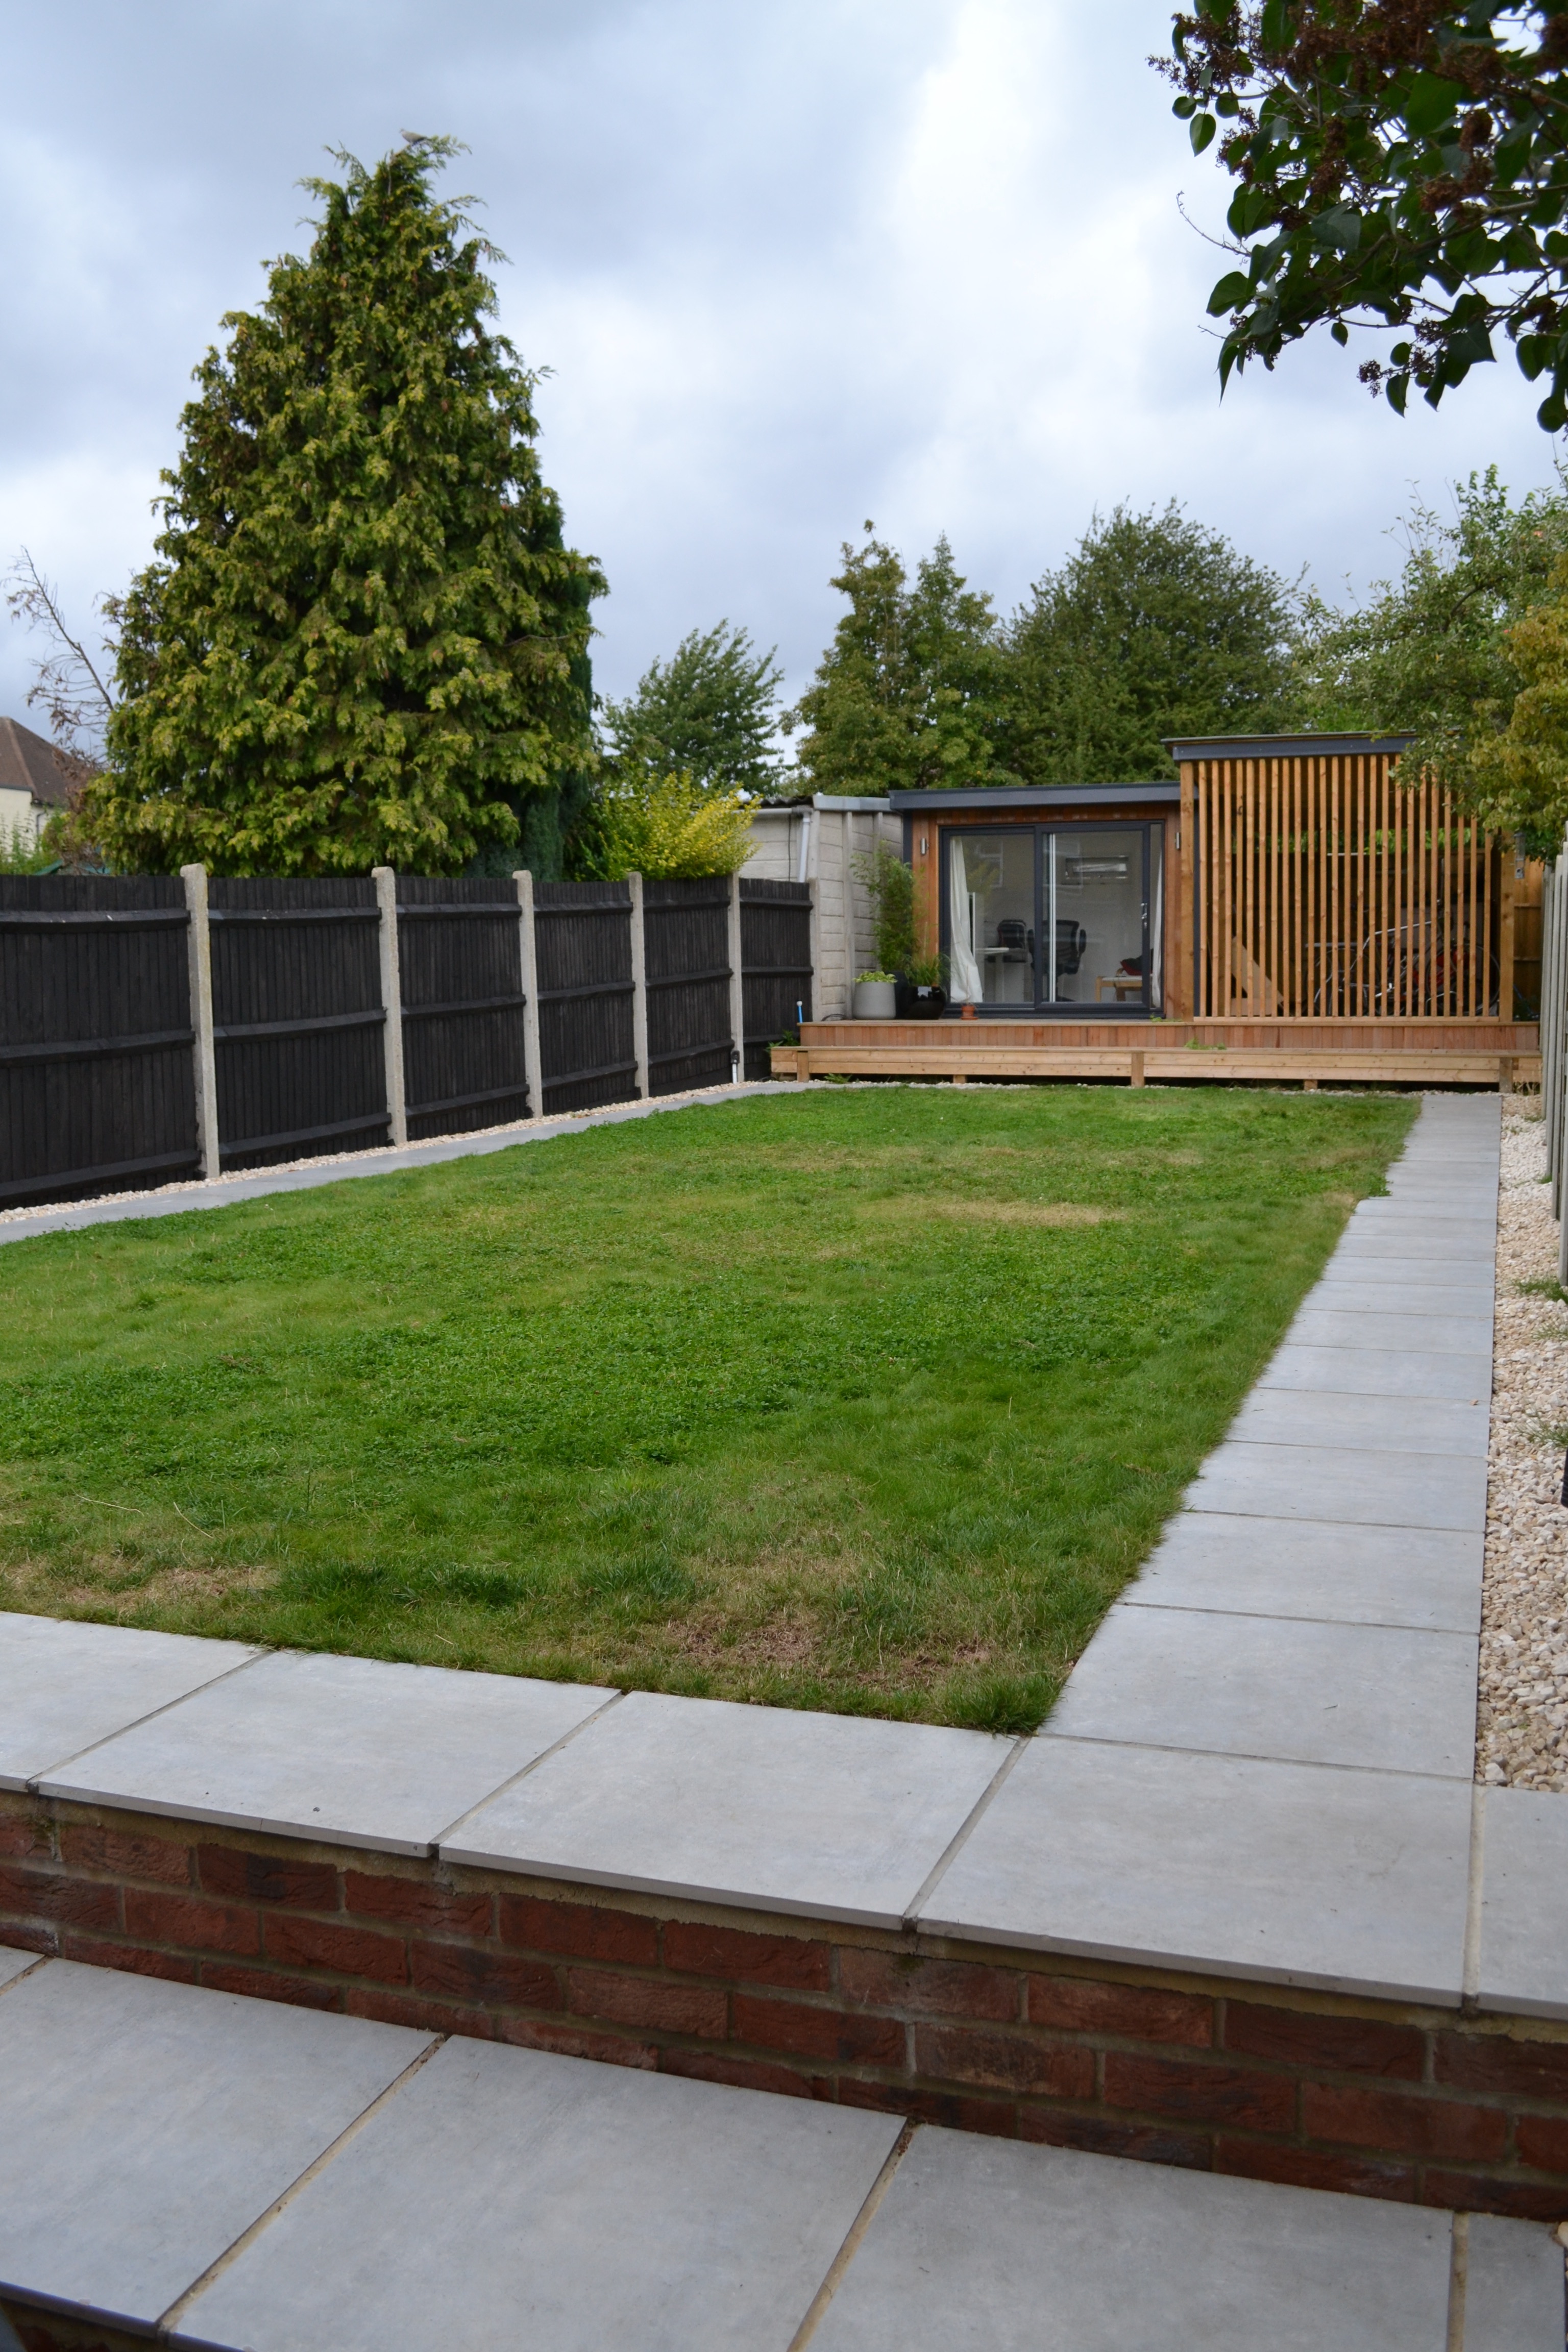
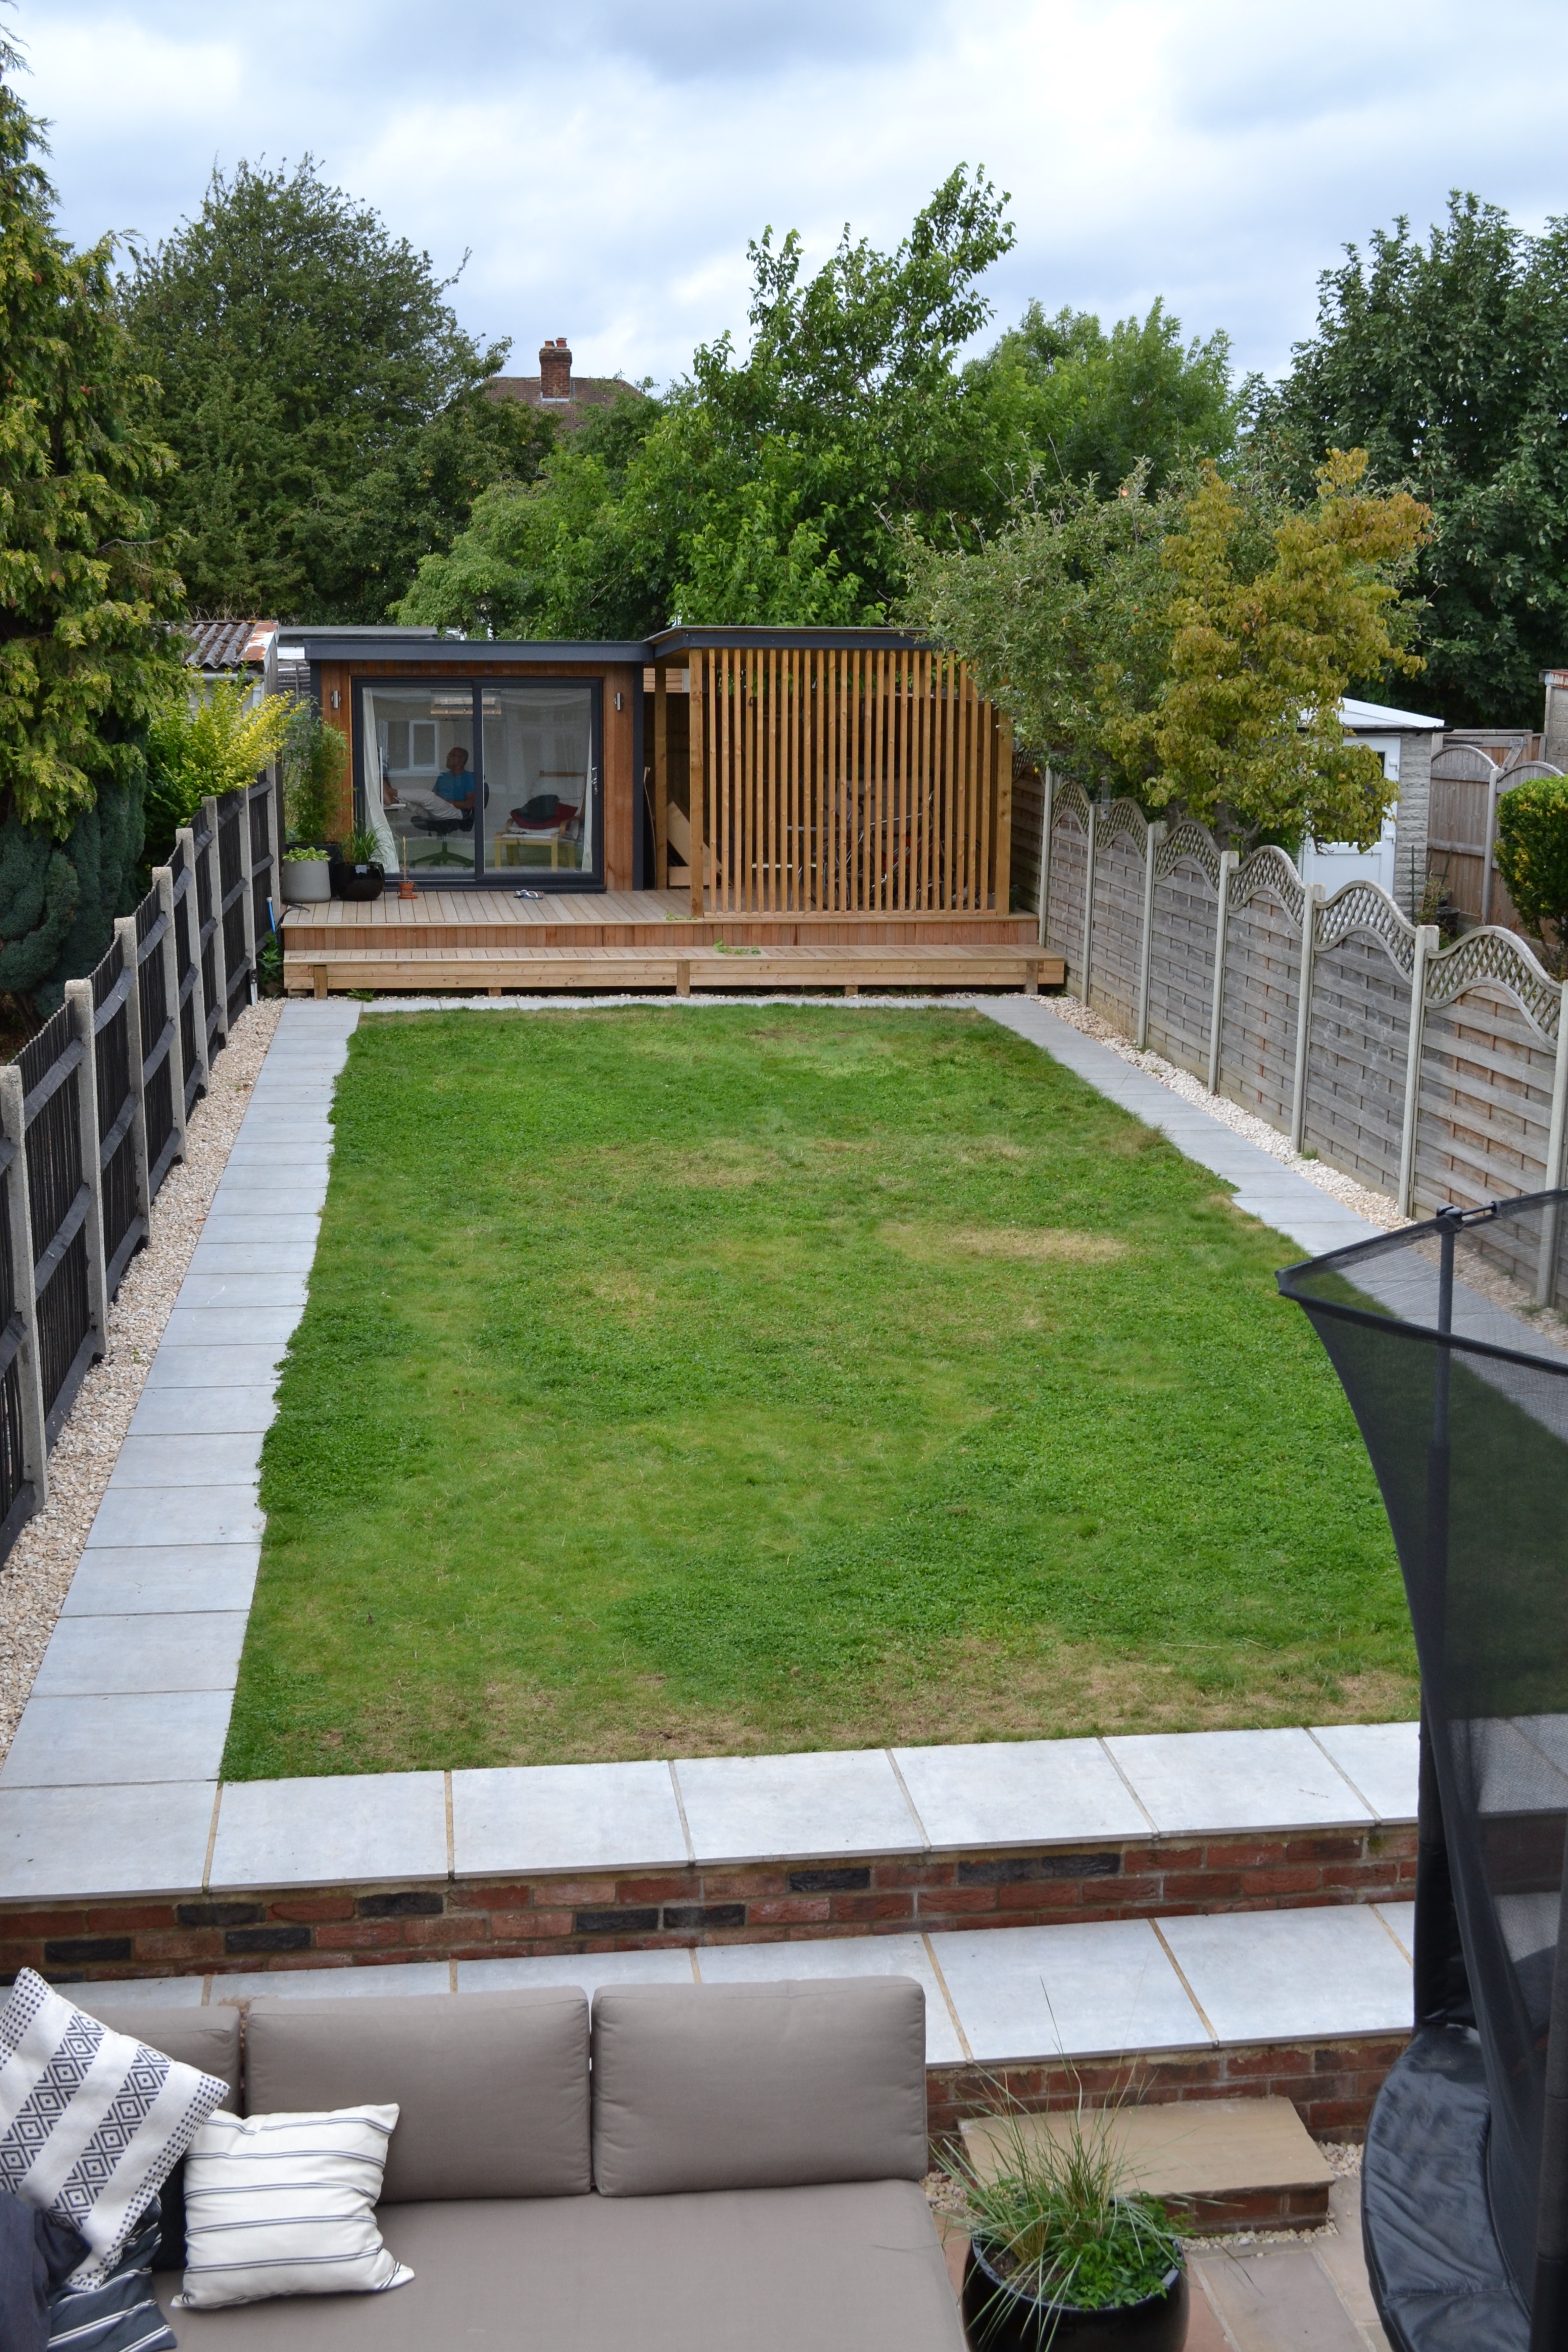
Levelling the garden was going to be the first step and the most natural, easiest and cheapest solution was to build up the soil with hardcore from the front end of the garden nearest to the house and then level it out towards the back. The increased height then meant that we had to add an additional step in.
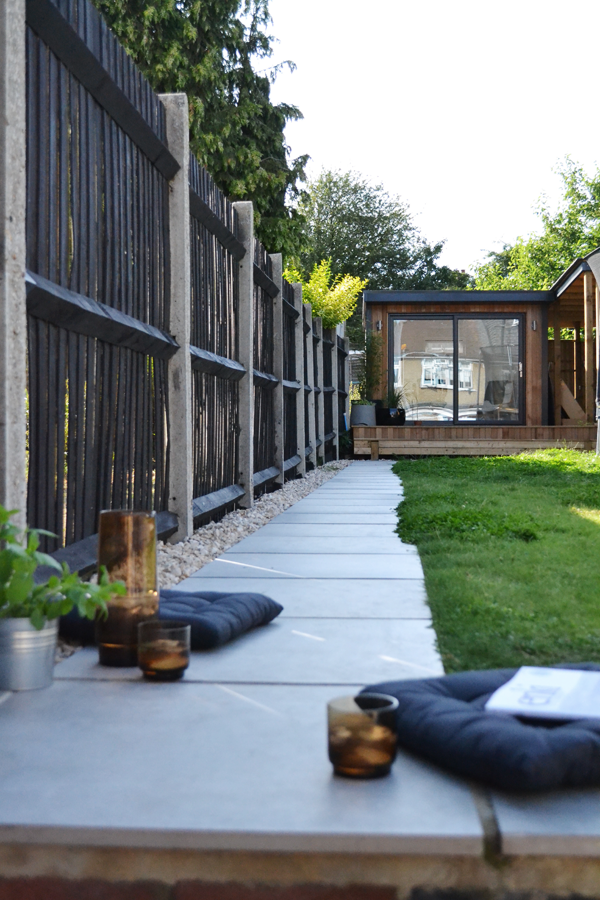
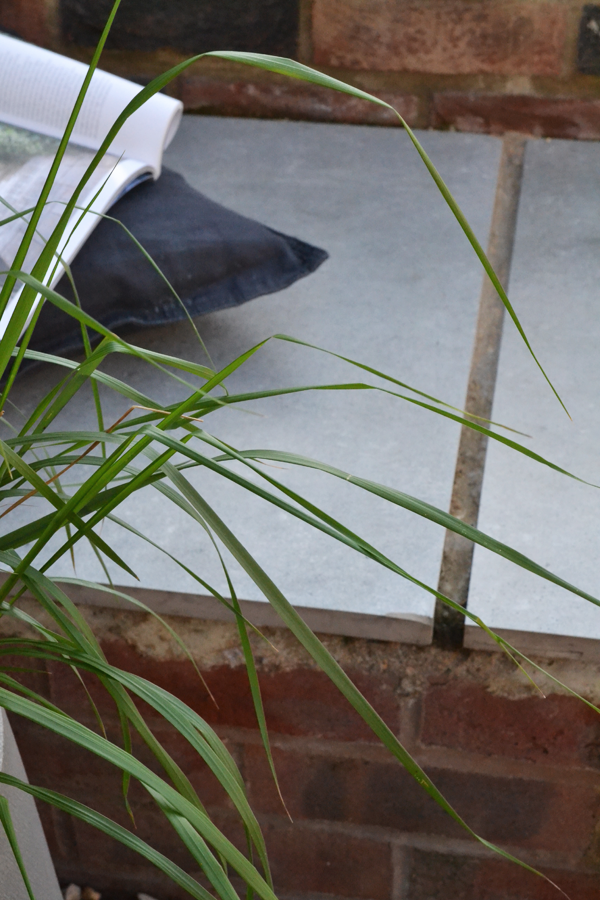
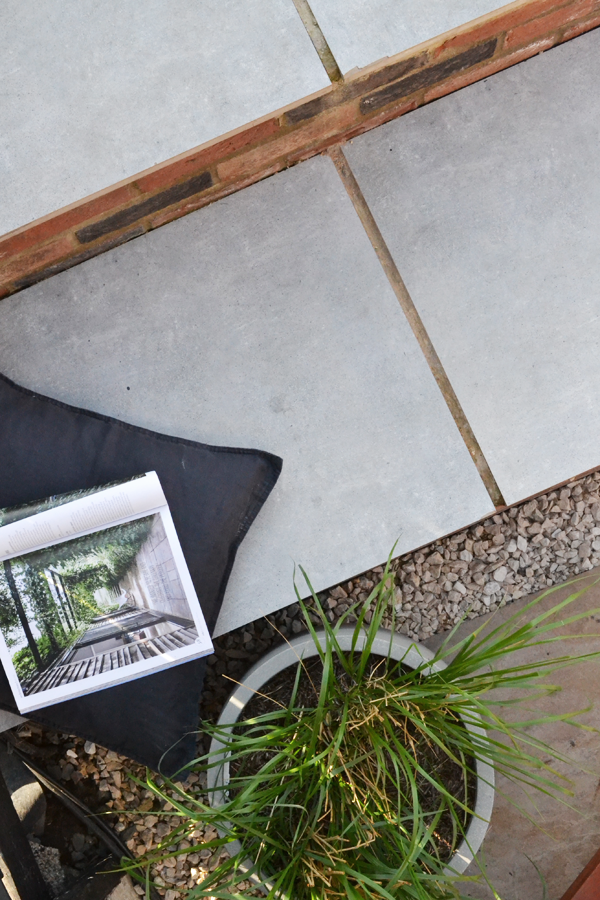
Our aim was always to make the garden look wider and we therefore decided to make a feature out of the additional step which now runs the whole width of the garden. We absolutely love this feature now and often sit on the warm tiles in the sun. It also means we always have enough seating for however many kids (and adults) we’ve got running round the garden.
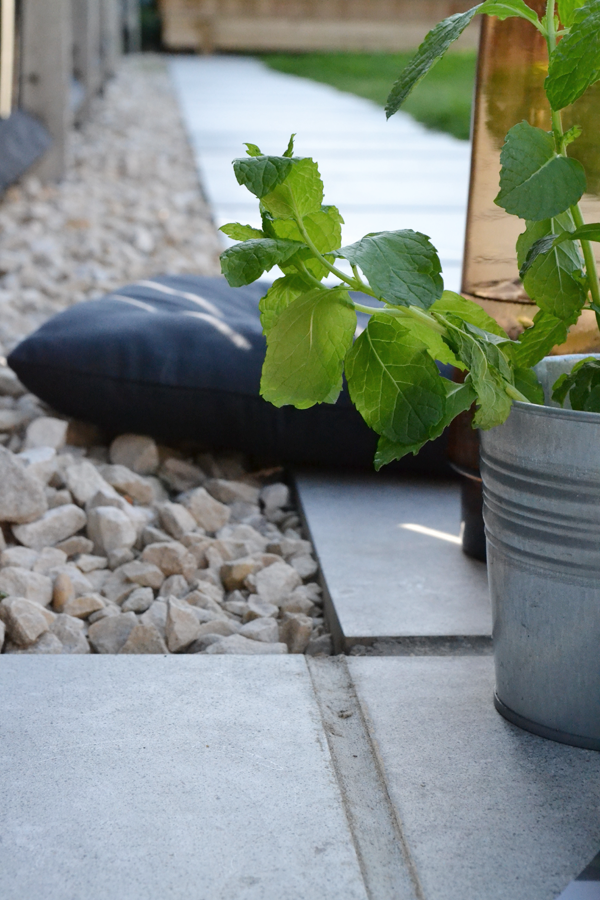
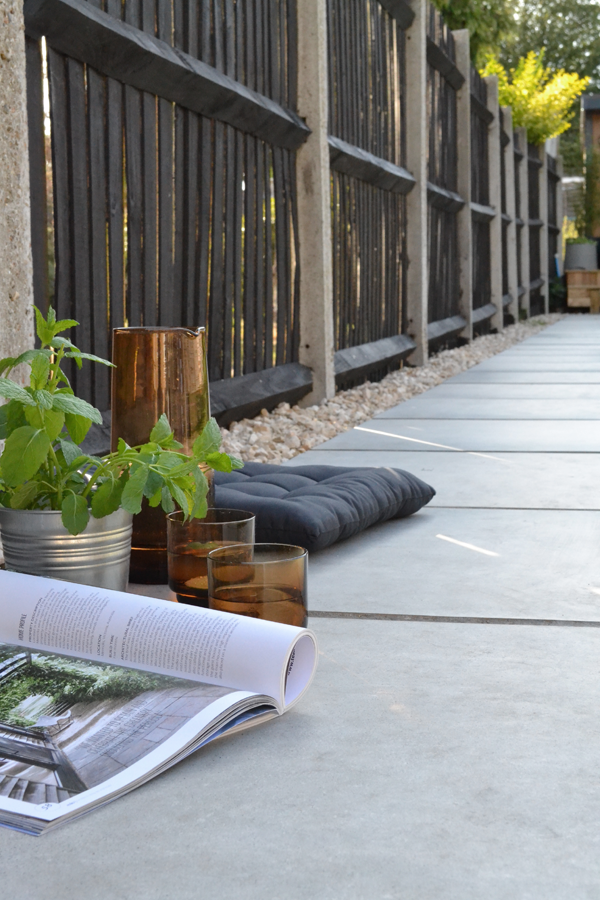
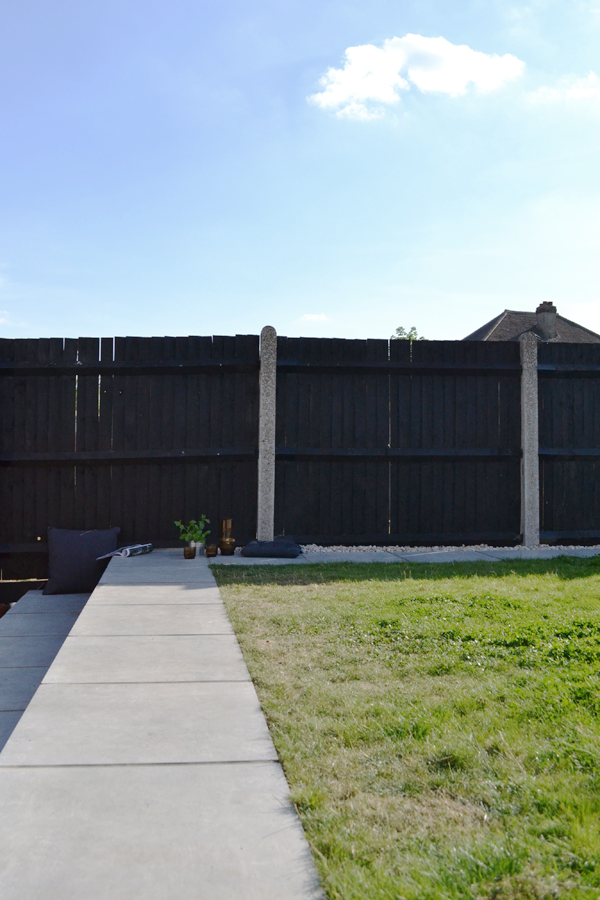
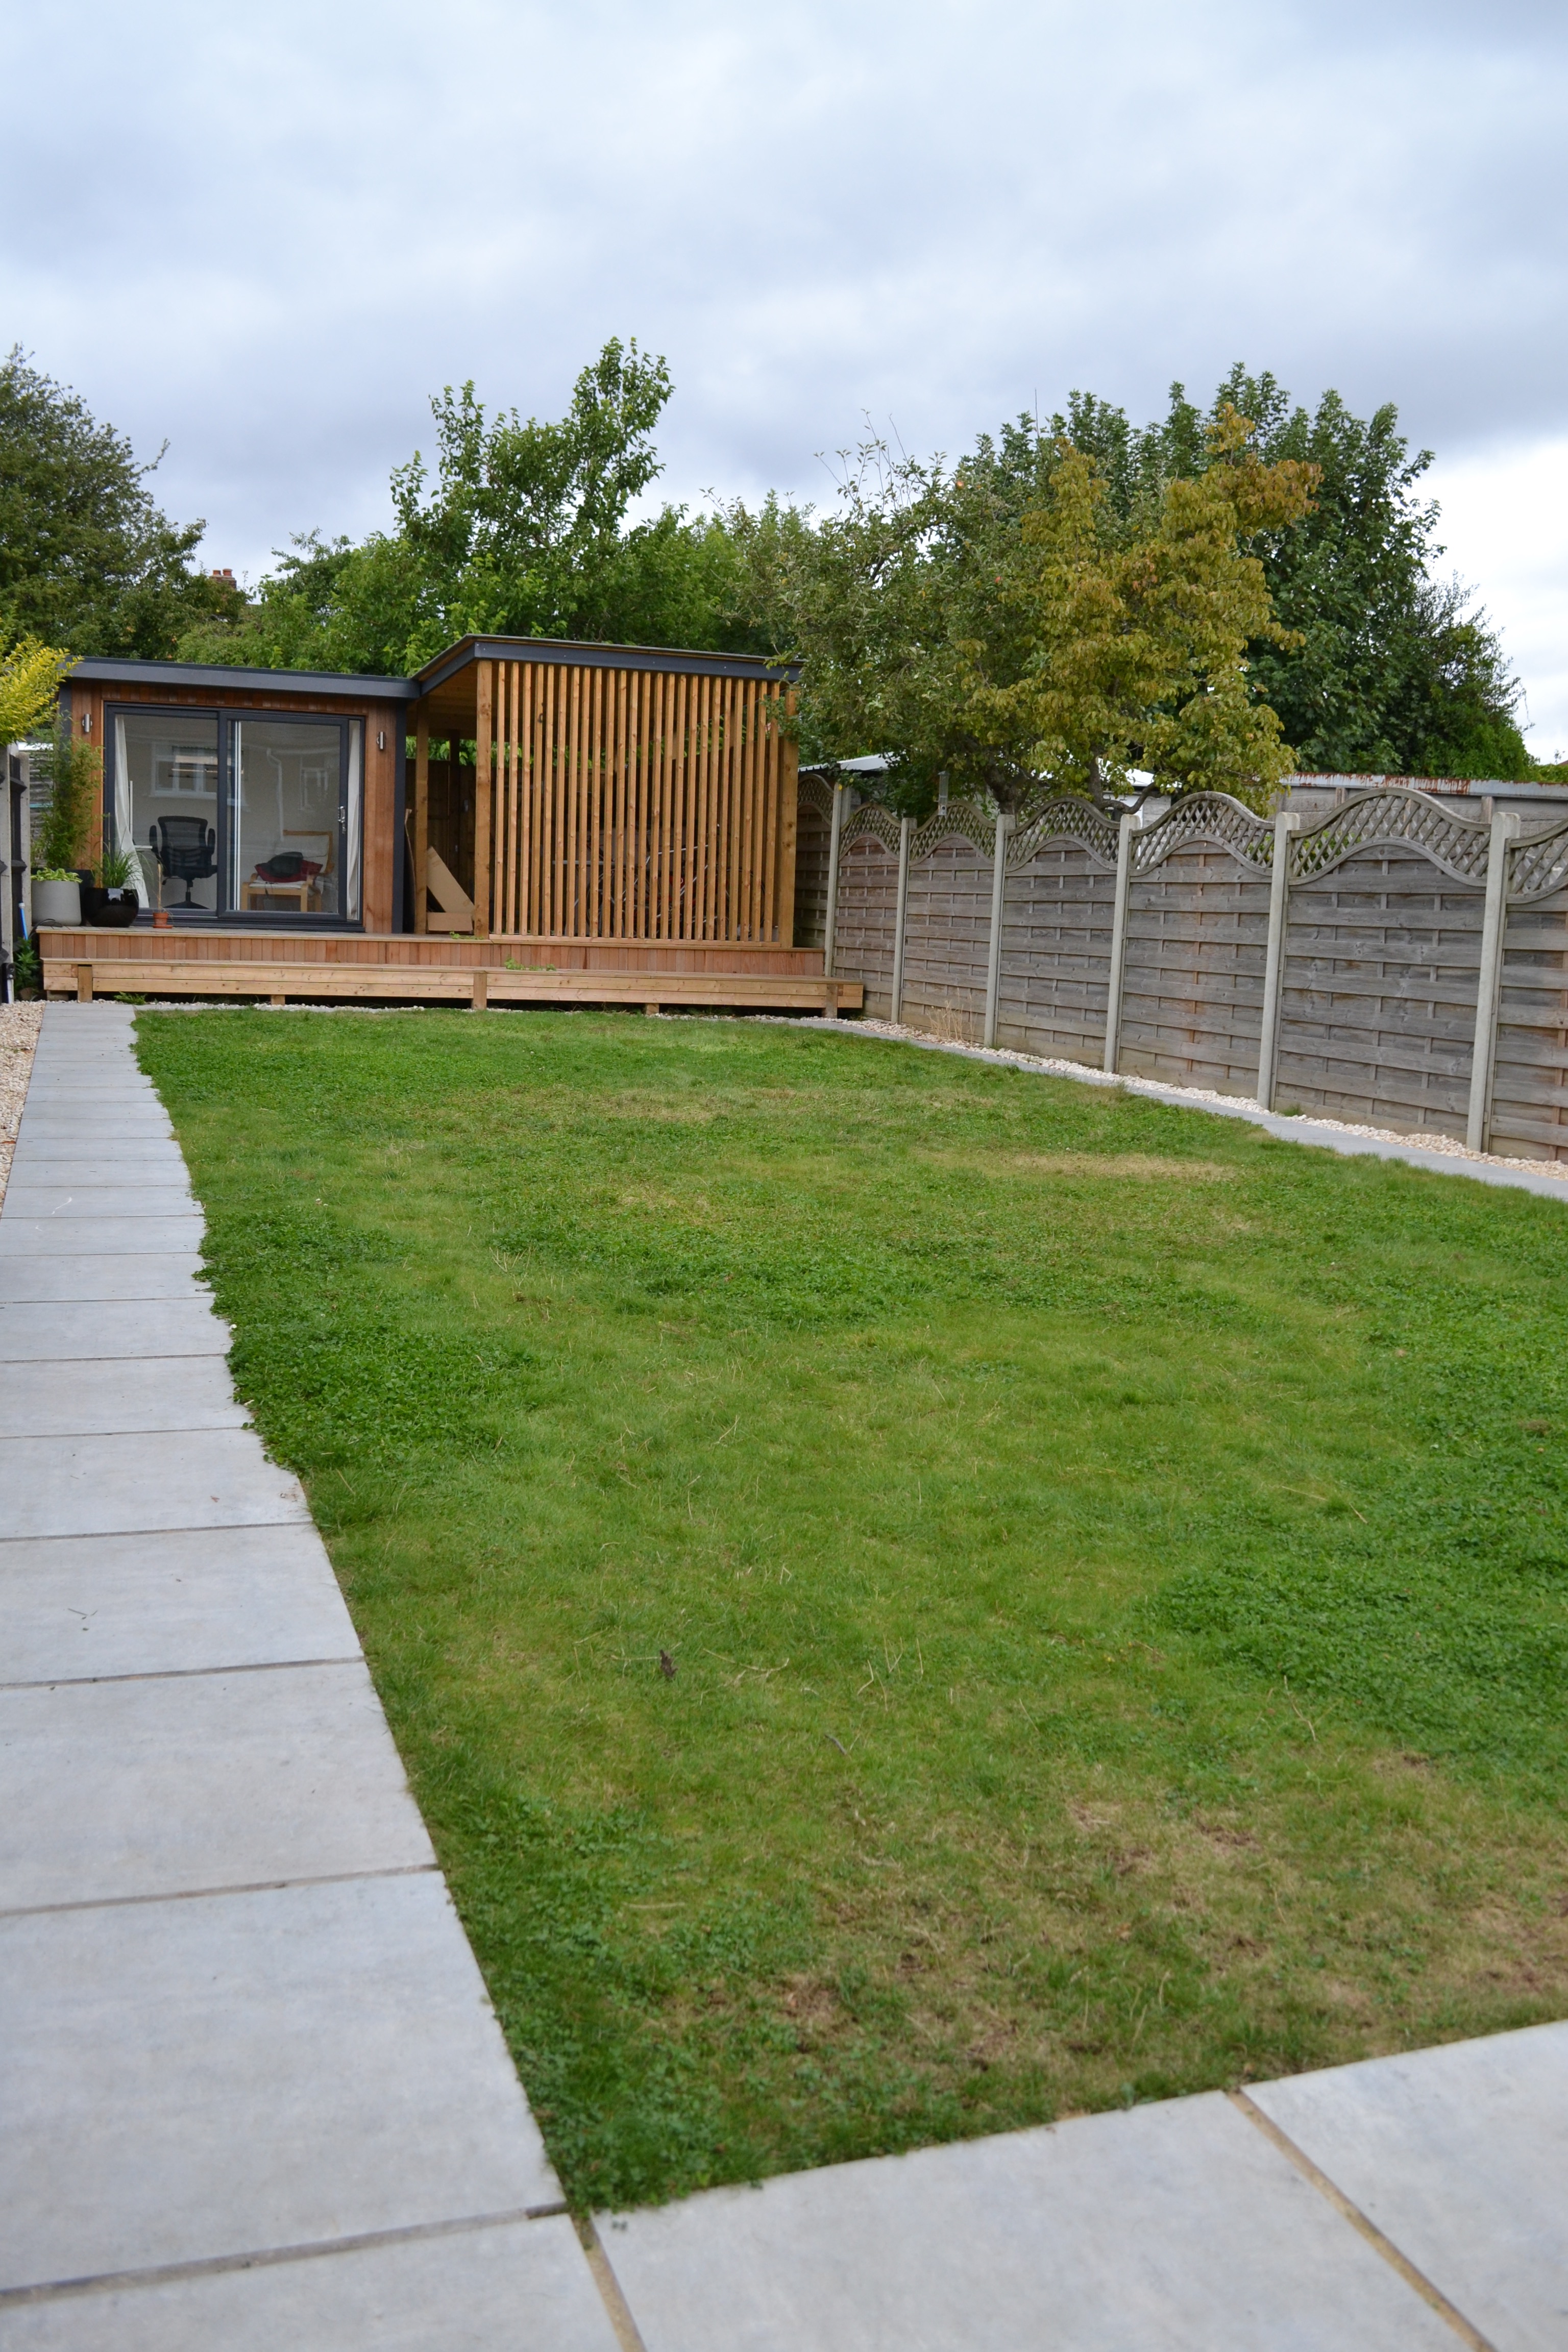
Another decision we made was to get rid of all the borders which might seem drastic, possibly cruel to many of you gardeners out there but we wanted the space to work in all weather conditions and decided to have a path run around the parameter with a narrow white pebble border to even out the less than straight line of the fence.
This not only means we’ve got easy access to the home office and shed but the kids love it too as they can ride their various vehicles from scooters, bikes and skateboards to toy cars round the outside without getting muddy or dirty. It’s also proven a great vantage point for ant spotting – a favourite past time in our house.
Since tiles were going to be a major feature of the new design I looked around for some mid grey outdoor tiles, not too light, not too dark, not too plain, not too textured, not too thick, not too thin and just the right size, preferably 60x60cm. After looking at what seemed like endless samples I finally found ‘the one’ at Tile Mountain and they were even happy to sponsor our little project.
Remember what I said about the stars aligning!?
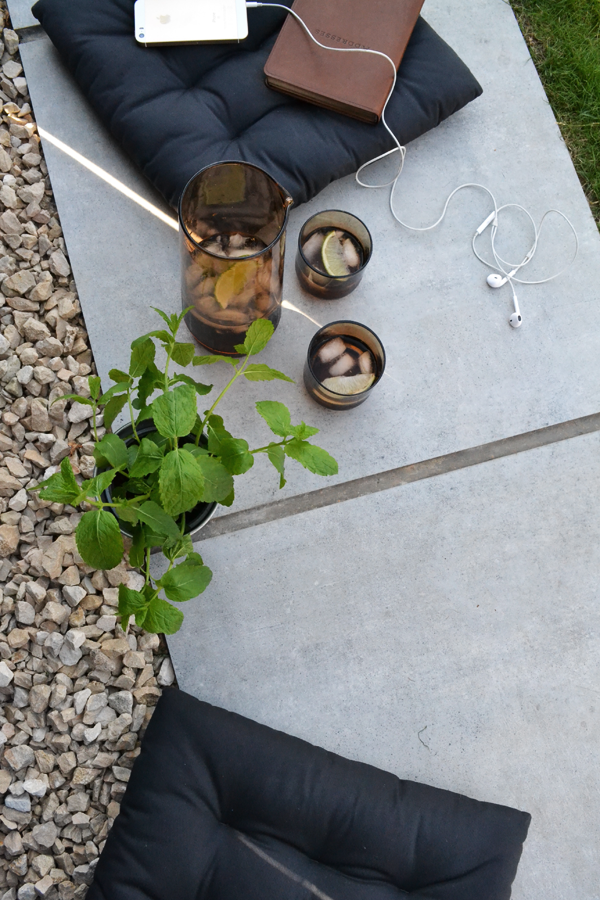
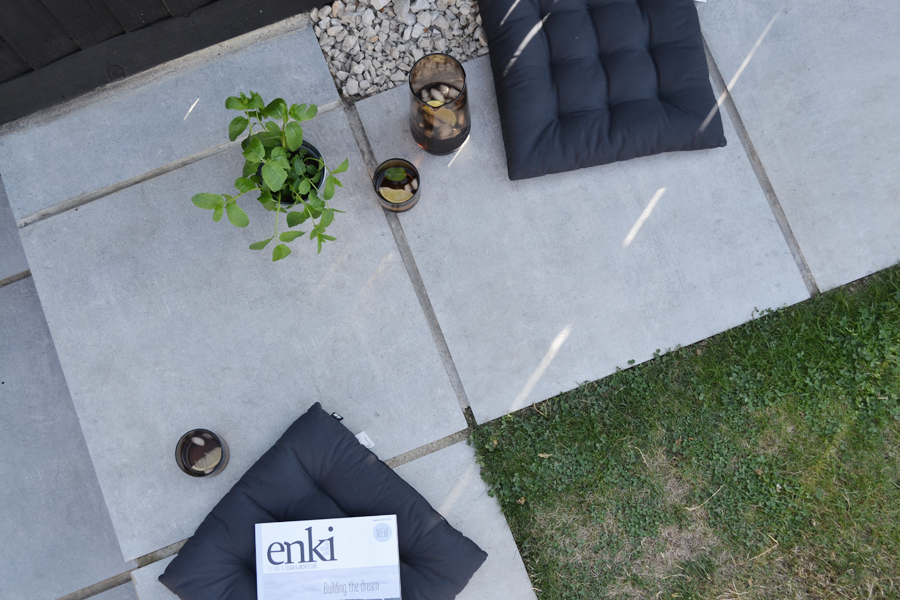
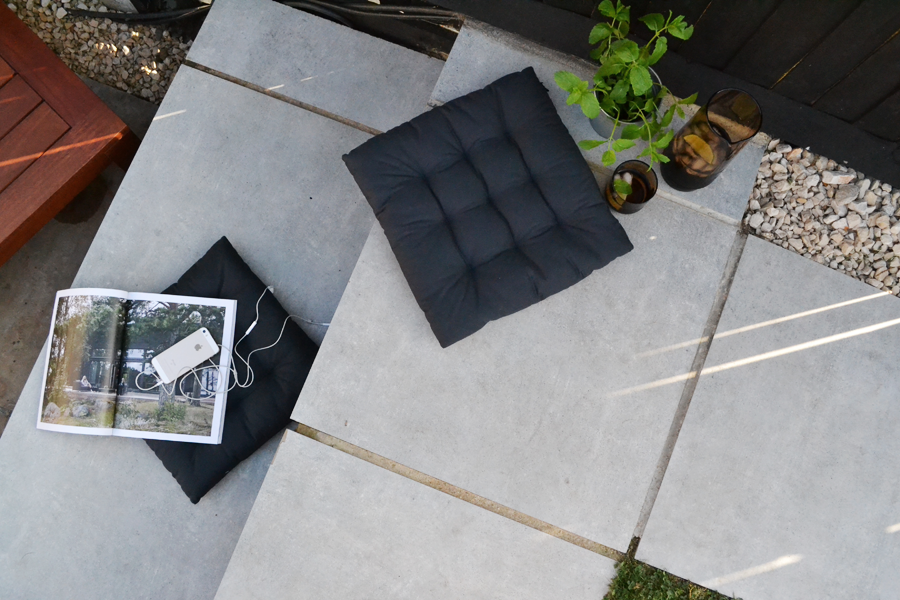
Our landscaper and tiler were really impressed with the chunky thickness of the tiles which will resist temperature differences and a multitude of wear and tear. I absolutely love the subtle look with tiny speckles which reminds me of polished concrete, one of my all time favourite materials.
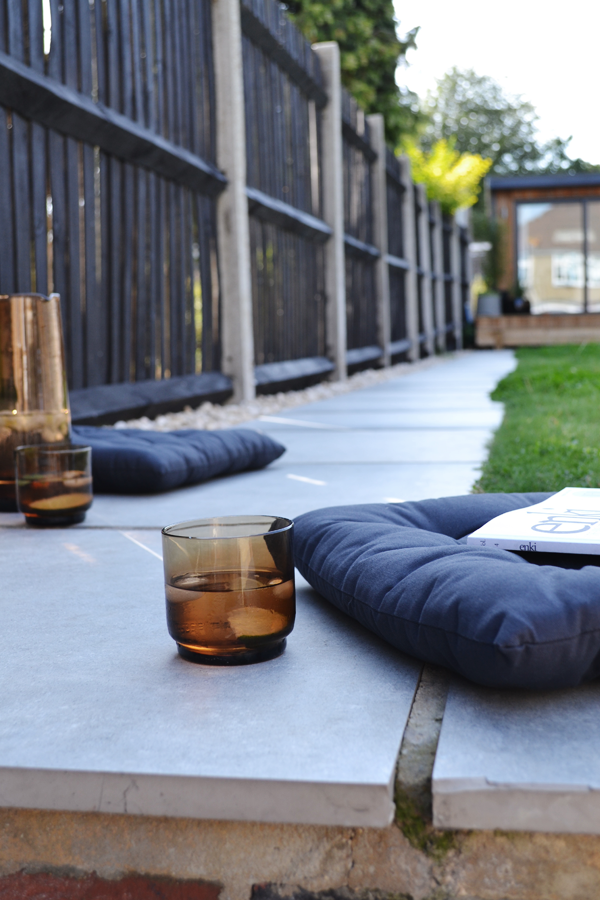
I have to admit that I was quite nervous when the large palette arrived back in March but the soft grey colour and smooth finish looks exactly as it does on their website. The tiles are 60x60cm which is the perfect width for a path and deep step and they look really smart against the natural grass and rough white Cotswold stone pebbles we’ve got on either side. I decided to paint the fence black to create extra drama and though it has taken me a lot longer than anticipated (15 panels!) the effort is so worth it.
As I mentioned in the beginning this is only the clean slate, the blank canvas we’ve created. There will be more plant based additions next year.
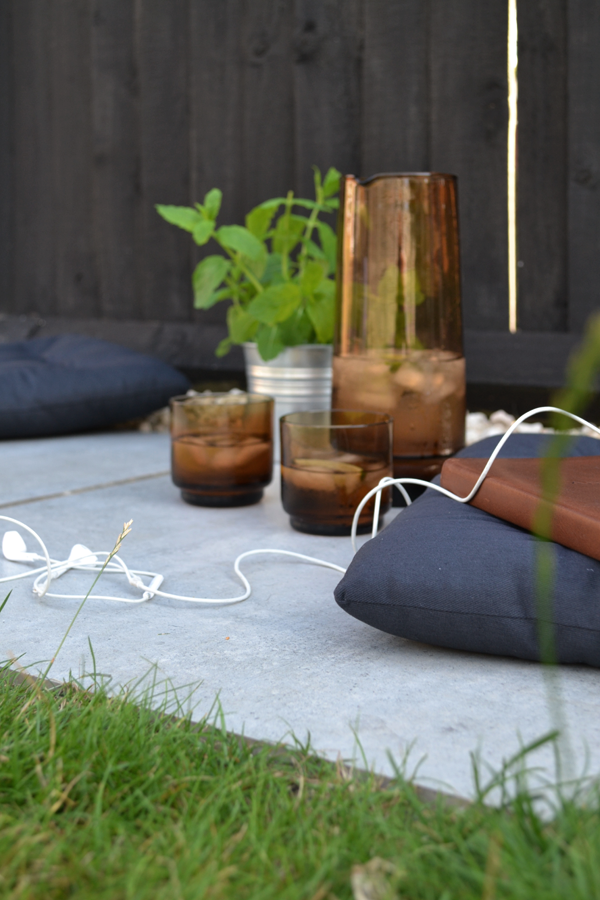
For now we’re just enjoying our garden as it is – minimal and functional with some classy monochrome colours and subtle textures. Perfect to run wild in as well as chill out with some music, a glass of something and a good book.
Thank you summer of 2018!
If you’d like to see more of our home renovations and garden makeover hop over to my Instagram account and follow for the hashtag #homerenovationsatno57
Outdoor Slab Tiles kindly sponsored by Tile Mountain, we’ve used Beton in Soft Mid for our garden makeover (matt, 600x600mm, £29.99/sqm)
MORE INFORMATION | Tile Mountain
PHOTOGRAPHY | Annie Kruse
Follow Stylejuicer with Bloglovin

